This post has been updated. It was originally published on July 31, 2017.
Since this clean, bare-bones browser first saw the light of day in 2008, Google Chrome has steadily grown in popularity. Today, it enjoys the largest share of the browser market. In the process, it has developed significantly, morphing from a simple Windows-only platform to an all-purpose application with advanced browsing features—if you know where to look for them.
As it turns out, Chrome can do a lot more than browse. These five advanced hacks let you host multiple users, search like a pro, and even open outside files within the program. If you spend a large chunk of your working (and playing) hours buried inside a browser window, you should give them a try.
1. Separate work and personal use
When you’re doing work on your home computer, you rely on a specific set of logins, bookmarks, and other browsing information. But when you sign off for the day and decide to wind down by scrolling social media or maybe watching some Netflix, you use another set of websites entirely. Chrome lets you silo these two (or more) browsing personalities by setting up multiple profiles. These work like user accounts on your Windows or macOS computer.
If multiple people are sharing the same computer, profiles also let you separate your bookmarks and login information from those of your fellow-browser. Chrome keeps all of the information it stores—including web apps, bookmarks, history, passwords, and login information—separate between profiles.

So how do you set these profiles up? Head to the top right corner of your browser window and click on your avatar (the circle with an image or letter inside it). Then click Add at the bottom of the menu that pops up. It’s as simple as that. Although Chrome lists this option under a heading that says “other people,” this person is still you—just in a different mode. Still, you’ll need to supply the alternate account with a name and a picture.
Once you’ve set up a roster of profiles, you can customize each one with bookmarks and web apps. To switch between accounts, just click your avatar and find your desired profile at the bottom of the pop-up menu. This lets you run two profiles alongside each other in separate browser windows.
[Related: Chrome user profiles are a powerful productivity tool]
You can even sync a specific profile across multiple devices. However, you’ll need to associate each profile with a Google account. Then, when you sign into that account on another device, you can access the stored Chrome information.
2. Get experimental with the Canary build
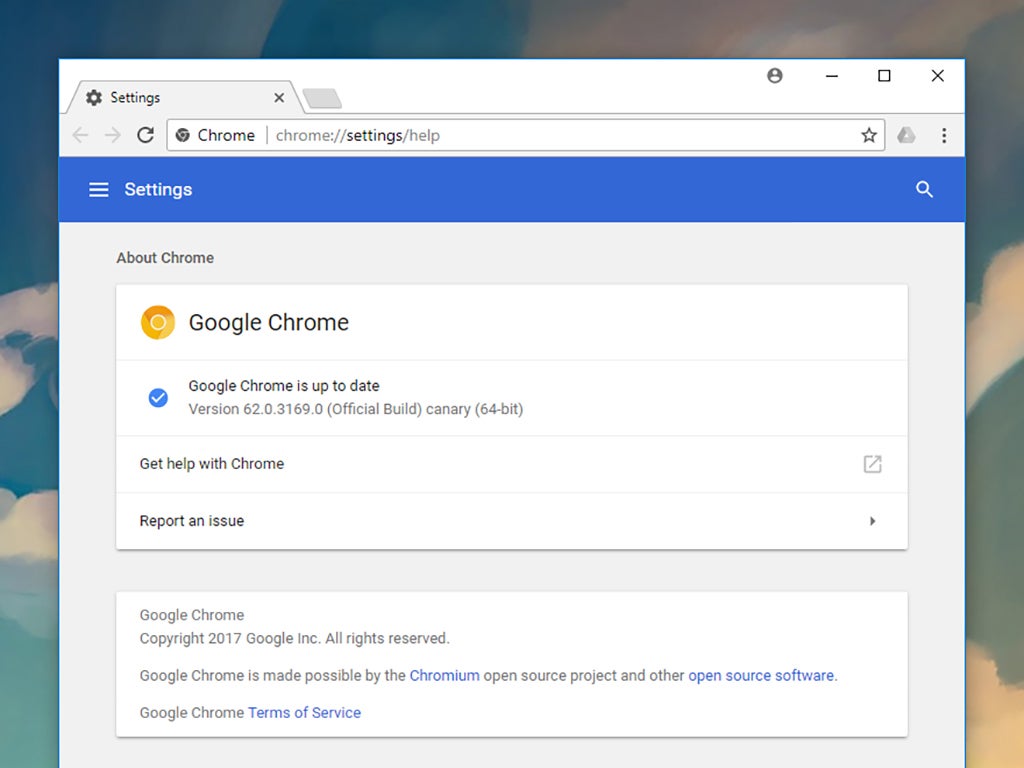
Google Chrome is actually available in four different versions. Most people use the stable version, which has extensively road-tested features. But you can also get your hands on a version called the Canary build, which features the very latest experimental new options—along with a good number of bugs. Between the stable and Canary builds, you’ve got the beta channel and the developer channel, which lie somewhere in the middle when it comes to new features and bugs.
From stable to Canary, these versions of Chrome gradually get more untested and less stable. You also get more frequent updates the further down the chain you go, with the Canary build updated every day, and the stable channel only updated once every six weeks or so.

If you’re willing to forgo a bit of stability in return for testing out Chrome’s newest features before anyone else, you can easily switch to a different channel. If you’re interested in stable, beta, or developer, you can only pick one of these three options to have on your system at any one time. However, you can run the Canary build alongside any other version of Chrome.
To get experimental, head to the Chrome Release Channel page and select which version you want to use on Windows, macOS, Android, or iOS. (On Apple’s phones, however, you only get a choice between stable and beta.) Google recommends backing up your user data before switching, and the page includes instructions for how to do that.
3. Augment the address bar
The address bar, also known as the omnibox, sits up at the top of the Chrome interface. Although you can type URLs into this bar, you can do much more with it than that. In fact, it has all the superpowers of the Google search engine.
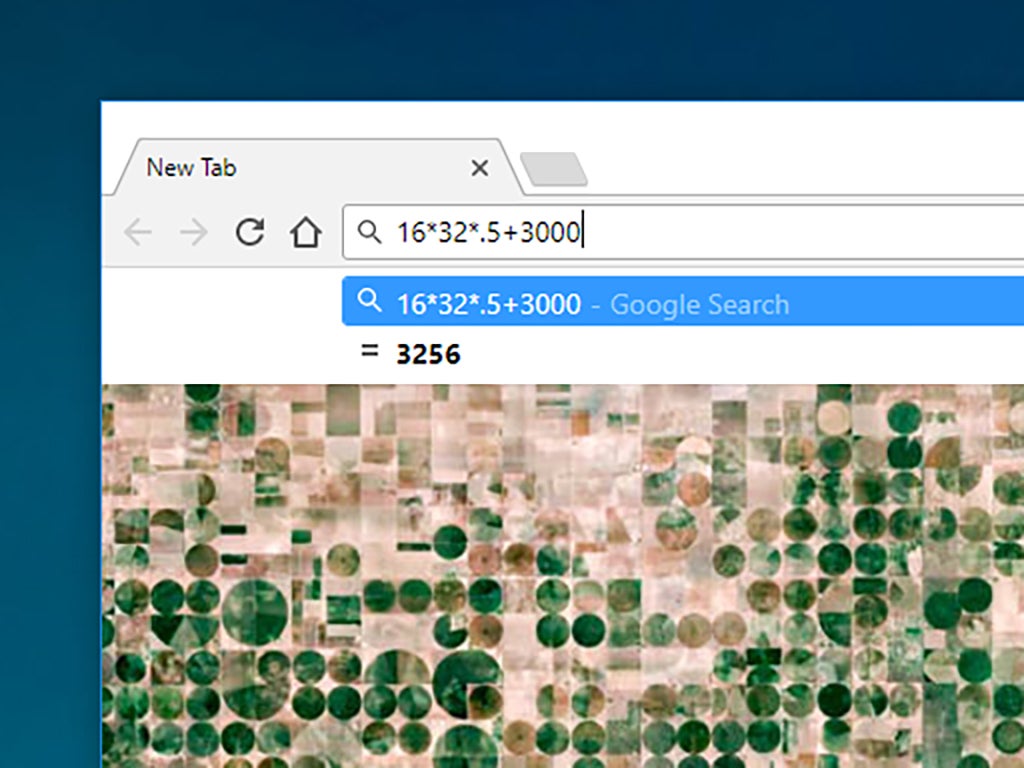
If you want to run a basic web search, just enter your keywords and hit Enter. You can also get answers to math problems and unit conversions—just type them out in the box. You can even flip a coin using the omnibox by searching for “flip a coin“. For more detailed searches, enter your keywords and then type “site:popsci.com” (or any other URL if you want to look somewhere other than the Popular Science website).
The address bar improves on the Google search website because it can interact with the text on the page you’re currently browsing: If you don’t want to type out a search term, for example, you can highlight a word or a phrase on a webpage, then drag it up to the omnibox to search for it.

While the Google search engine is the default choice for anything you type into the omnibox, you can switch it up. To formally add extra search capability—you can look up keywords on any site from Amazon to Wikipedia—right-click in the address bar and choose Manage Search Engines… From the list of search engines, click the three vertical dots next to any one to add a short keyword. For example, try associating “bin” with Bing. Then, you can type “bin“, followed by your search terms, to search Bing instead of Google.
The list of useful address bar tricks goes on. Try using it to browse your computer’s file system: On Windows, type “C:” and hit Enter; on a macOS machine, type “file:///Users/” instead. You will, however, have to give Chrome access to your computer.
4. Find forgotten passwords
A login page pops up, and your mind goes blank: You have no idea what your username might be, let alone your password. Chrome can come to the rescue and automatically fill out these details for you. In fact, the browser also keeps a cache of these login credentials, ready for whenever you might need them.
This vault lets Chrome automatically enter your information when you’re using the browser. And it also comes in handy when you’re trying to log in somewhere other than Chrome—if you’re on a different browser, or you need to supply a password inside an app, for example. In this case, you can open up Chrome’s list of usernames and passwords, find the code you’re looking for, and then enter it manually.

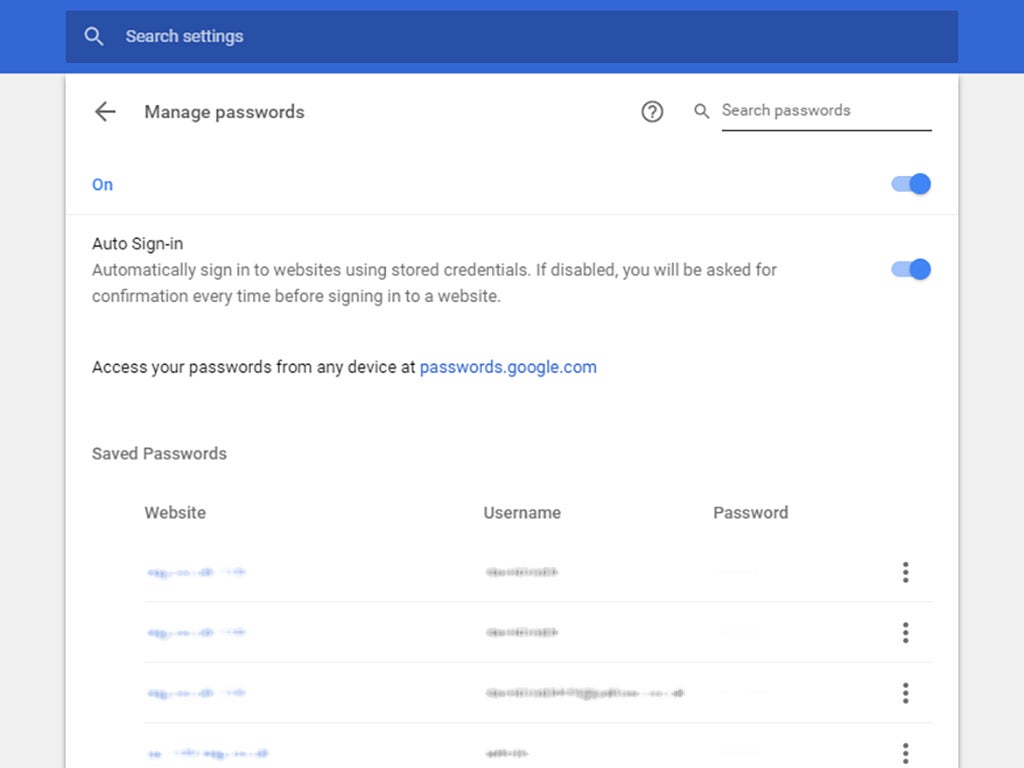
Open the Chrome menu via the three dots in the top right corner, choose Settings, and click Passwords. There, you’ll see a list of everything Chrome has saved, in alphabetical order. Scroll down the list, or use the search box at the top of the page, to find the specific credentials you need. To view the relevant password, you click the three dots to the side of any entry, and then hit Details—though you’ll first have to enter your Windows or macOS password as an extra layer of security.
[Related: You should start using a password manager]
This isn’t actually a Chrome-only trick. If you’ve chosen to sync your browser details with a specific Google account (in order to use it across multiple devices), you can head to passwords.google.com and find your usernames and passwords there as well. So the next time you forget what your login details are for a particular site or app, see if Google knows.
5. Open other files in Chrome
Chrome is much more than just a web browser. We’ve already mentioned that you can use it as a rudimentary file explorer, and it can open up a host of different file types as well. This ability saves computer bandwidth, because it means you won’t have to open up separate programs on the desktop. And on a Chromebook, you won’t have access to those programs anyway.
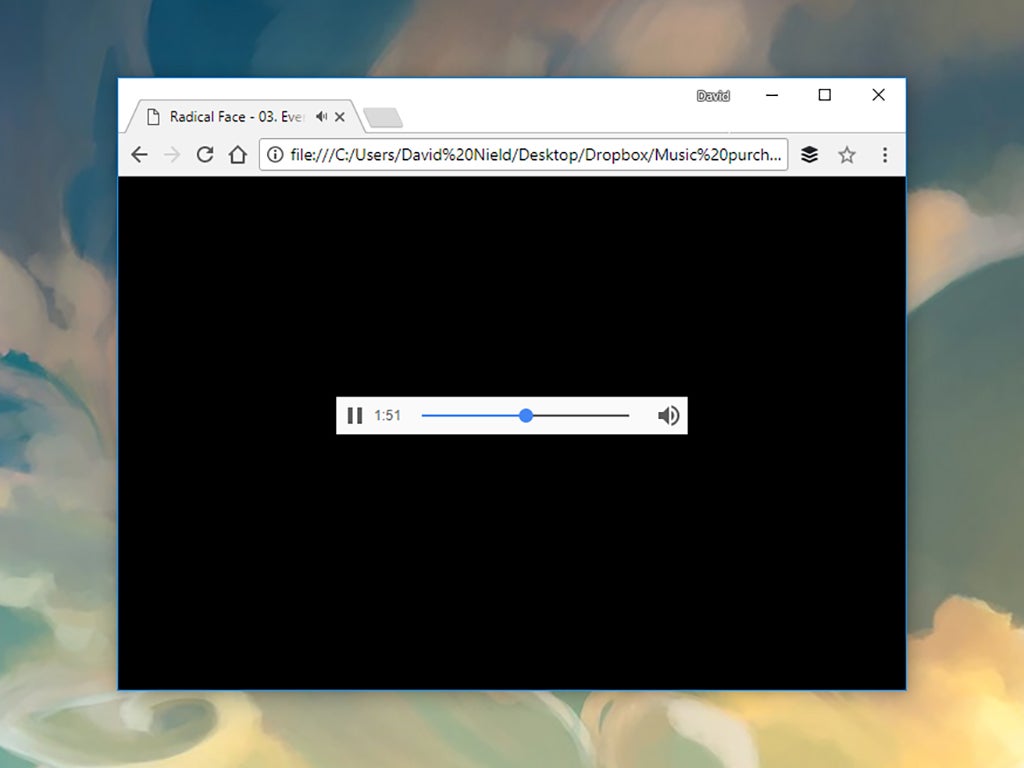
Chrome supports most popular music and video formats, for example, so you can play tunes or movies while you browse the web in another tab. This alternative is useful if you don’t want to fire up a bloated media player like iTunes or Windows Media Player just to watch a quick clip.

Photos, text files, and PDFs also work, which saves you the trouble of having to hunt around for another application. For visuals, Chrome gives you basic on-screen viewing options, such as zoom controls and a print button when you look at PDFs.
To open a file, just launch a new browser tab, then drag the file into it. If Chrome can’t open the file you drop in, you’ll get a save dialog instead. You can control these file-viewing tabs as you would any other web page, so you can pin them to the left to free up extra screen space.
You may not ditch Photoshop for Chrome any time soon, but if you’re spending most of your time in a browser anyway, having a built-in file viewer and media player can prove handy in all kinds of ways.


